20.1 Starting the Application
To begin, you need to launch the application from QF-Test. The Quickstart Wizard helps to generate the respective setup sequence.
- ActionOpen a new test suite via the menu item »File« »New test suite...«.
- Open the Quickstart Wizard via the menu »Extras«-»Quickstart Wizard...« .
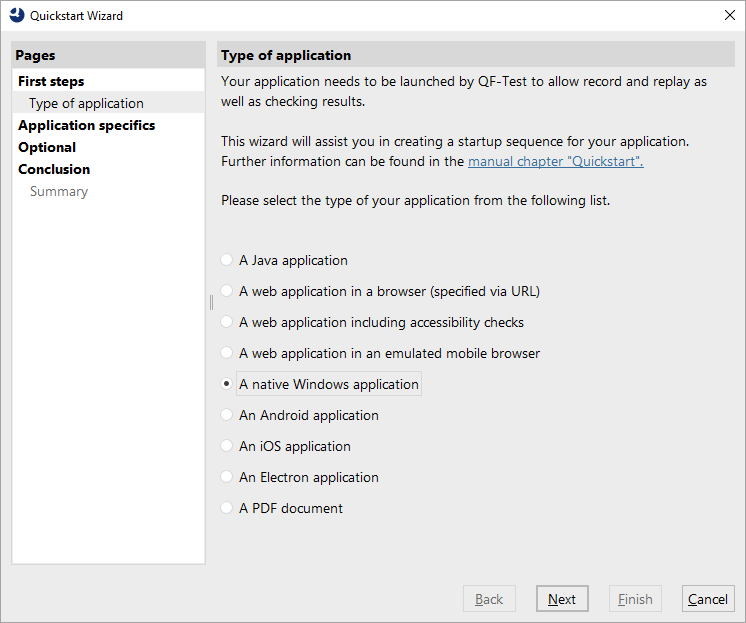
In the first step you can choose the type of application to be tested.
- ActionSelect the fourth option A native windows application.
- Press Next.
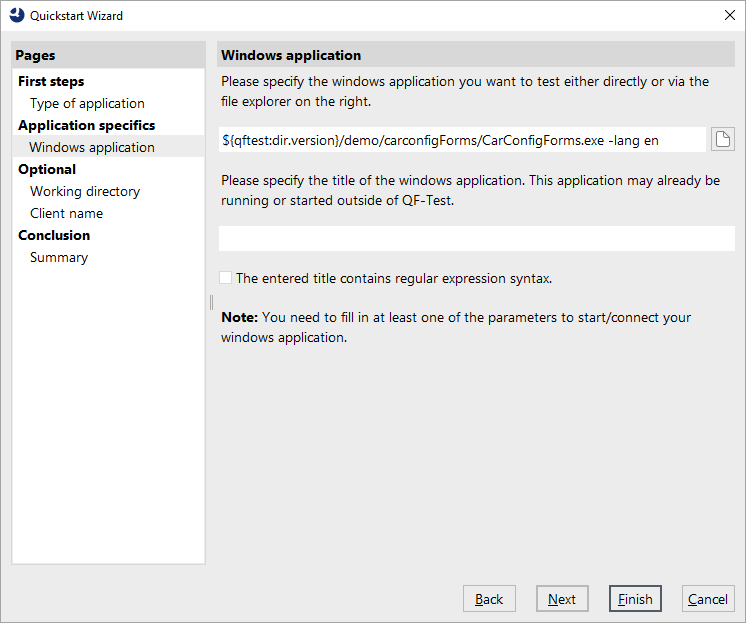
The next step specifies the Windows application executable.
-
ActionUse the select
 button
on the right.
button
on the right.
-
Navigate to the subdirectory
qftest-10.1.1/demo/carconfigForms/of the QF-Test installation. -
Select the
CarConfigForms.exe.
The second field can be left empty here. It is also possible to connect QF-Test to an already running Windows application by means of its window title, which can be specified in the second field. Regular expressions can also be used for specifying those window titles.
Note In the figure below, the QF-Test variable
${qftest:dir.version} to address the version specific directory of the
QF-Test installation, which you have already come across in the previous chapter. (Details
on special QF-Test variables can be found in the manual chapter Variables).
- ActionPress the Finish button, as the further optional steps are not needed for this simple demo.
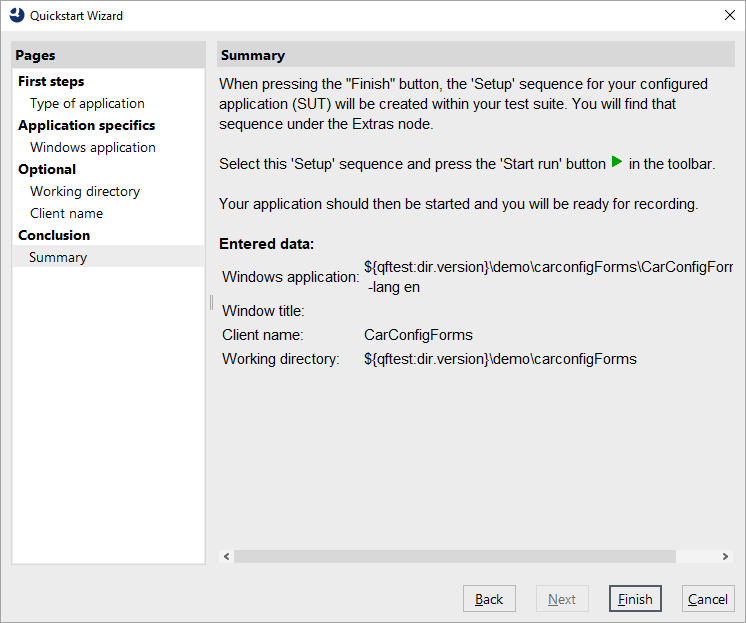
The final summary explains what will happen after closing the wizard and how to continue.
- Action Press Finish to close the wizard.
The generated setup sequence Launch CarConfigForms appears in the "Extras" section of your test suite and contains three parts:
- Set variable - defines the global client variable used throughout the test suite.
- Wait for client to connect - checks whether the client is already running.
- Launch SUT if not running - starts the System Under Test as client if it is not already running by use of a Start windows application, and waits for its start.
NoteThe information whether the client is already running is stored into a variable "isSUTRunning" in the first Wait for client to connect node and evaluated by the subsequent "If" condition. You can find this in the respective node details. This kind of conditional execution will be explained later in detail.

The next steps demonstrate the setup in action:
- ActionEnsure the Setup: Launch CarConfigForms node is selected.
-
Then click
 or simply hit "Enter"
Return.
or simply hit "Enter"
Return.
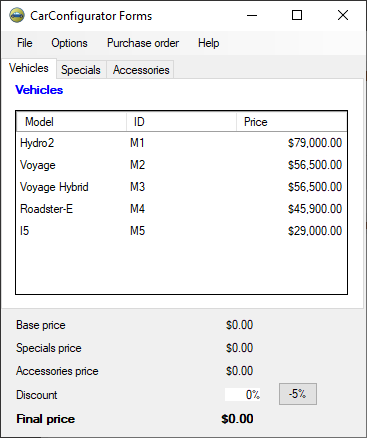
You should see the Windows CarConfigurator application appear on your screen soon. As the focus changes back to QF-Test after the execution, the Demo might be covered by the test suite window.
At the end of this section, save the test suite.
-
Action
Press the
 toolbar button or use the
»File«-»Save« menu option with
its short-cut Ctrl+S.
toolbar button or use the
»File«-»Save« menu option with
its short-cut Ctrl+S.
-
In the file explorer navigate to an appropriate directory where you have write access
e.g.
Documentsin your user home directory. -
Provide a name e.g.
MyFirstTests.qft. - Finish the saving action by pressing on Save.