29.2 Recording Actions
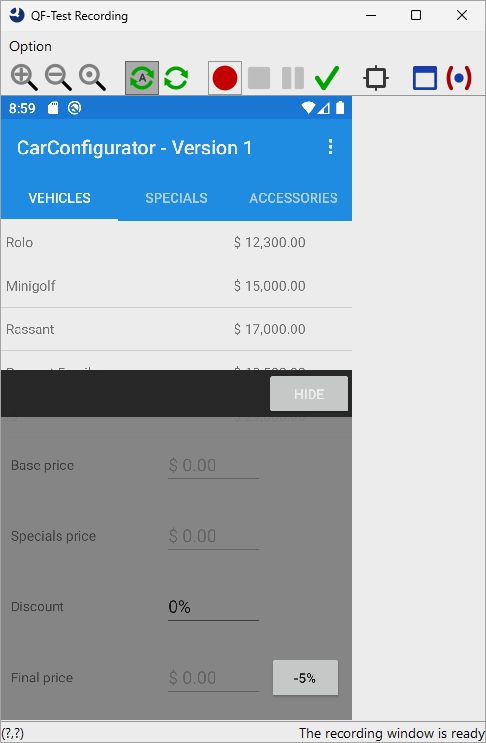
For mobile applications a special recording window is available mirroring the screen of the real device or emulator. This window is necessary because actions cannot be recorded directly on the device or emulator. All interactions are carried out via this recording window and recorded accordingly.
-
Action
Press the
 Record button in the recording window.
- Wait until the recording window opens.
- In the recording window, click the username text field and type "tester".
- Then click the password text field and type "tester".
-
Stop recording via
 .
.
The recorded sequence appears under the Extras section.
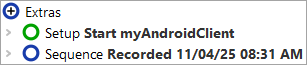
By default, the sequence name contains the date and time of creation. This can be adjusted in the details on the right.
- Action Rename the sequence, e.g. to Perform login.
-
We can insert the recorded actions at the end of our setup sequence.
To keep complexity low for now, insert them inside a Try node.
This ensures that no error is raised if we are already logged in.
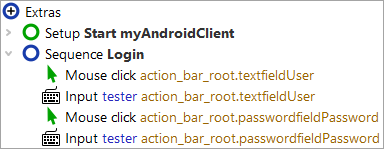
Figure 29.7:
Next we want to record a series of actions:
-
Action
Press the Record button.
- With the mouse, select the model Rolo in the table.
- Switch to the Specials tab.
- Select the special model Jazz.
- Confirm your selection with OK.
- Finally click the first tab Vehicles again.
-
Stop recording by switching back to the QF-Test window and pressing the
button there.
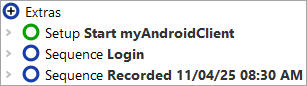
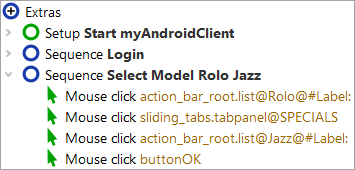
Again, you will find the recorded sequence under the Extras section, as shown in the following image.
- Action Change the sequence name to "Select model Rolo Jazz".
- Open the sequence to see its contained nodes. These should be the expected mouse clicks. You should even be able to identify the targeted components.
We now want to replay the recorded sequence.
- Action Select the sequence Select model Rolo Jazz.
-
Press
 Play.
Play.
You should see exactly the same actions you recorded before.
You should be able to replay the recorded flow repeatedly without errors. In the status line at the bottom right of the test suite window you should see "Finished: No errors".