28.3 First test case
Next we will have a look at the first test case. It consists of four test steps:
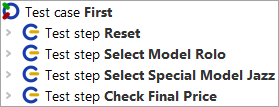
- Reset – performs a reset via the »File« menu and selects the Vehicles tab.
- Select Model Rolo – selects the first vehicle model "Rolo" from the list.
- Select Special Model Jazz – switches to the Specials tab and selects "Jazz".
- Check Final Price – checks that the calculated value of the "Final Price" field equals a given value.
Test steps are used to group nodes and to document what is being done. This proves very useful when it comes to error analysis or test adaptations later on.
- ActionExpand the four test step nodes.
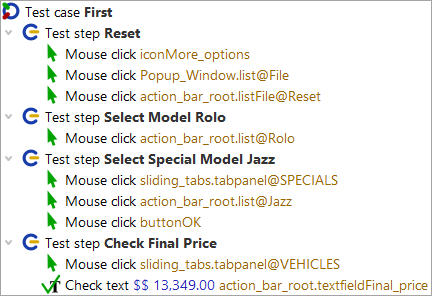
You can see Mouse clicks and Checks, which have been grouped in test step nodes for better readability of the test case. The action nodes display the action type (Mouse click, Check, ...) and the component targeted, i.e. where the action goes to. When writing a test you can use the QF-Test recording function to create them. Recording will be explained in the next Creating your own test suite (Mobile).
Let's execute the first test case:
- ActionSelect the node Test case: First.
-
Click the replay button
 .
.
The test steps will then be replayed.
The test result is indicated during and after the test run in the status bar at the bottom right of the QF-Test main window and should read 'Finished: No errors'. Next to it, there are counters for the numbers and results of the test cases executed. In our case, it was just one, error-free, which means a success rate of 100%.

Each counter icon has a descriptive tool tip. A list of all counters can be found in the chapter Capture and replay of the manual.