28.2 Starting and Connecting the Device
Note The Android application can either be tested on a real Android device or an emulator, an iOS application of a real iOS device or a simulator. Subsequently, the term "device" refers to any of the options.
Our first step is to examine the Setup node more closely:
- ActionExpand the Setup: Start device and connect node, as shown below.
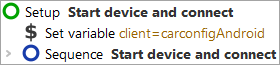
You will see two child nodes:
-
Set variable – set the variable
clientto the connection name for the SUT, which will be needed for every action replayed to the application. - Start device and connect – starts the corresponding Emulator (Android) or Simulator (iOS), or connects to a real device if a connection is not yet established, and opens the CarConfigurator app.
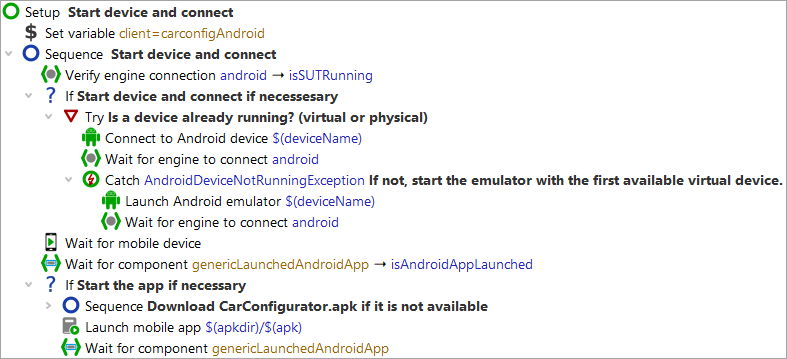
In Start device and connect, the first entry is a Wait for client node to check whether the client is already running. Only if not, it will be started.
Starting the device is done in two steps:
-
First, the Connect to Android device node tries to connect to
to a real Android device or a running emulator. In case it fails QF-Test jumps to the
Catch node where the Start Android emulator node
starts the emulator if the given device is an emulator.
Note: For iOS, the node Connect to iOS device is used to connect to a real device as well as to a simulator. - Wait for mobile device – finalizes the connection to the Android device and for both technologies waits for the connection to be up and running.
These two steps are created automatically when using the Quickstart Wizard, which is explained in the next tutorial chapter ("Starting the Application").
Let's start the application:
-
Action
If you want to use a real device or a specific emulator, start it manually first.
For performance reasons we recommend starting the emulator manually, so it is not linked to the QF-Test client process and does not need to be restarted every time.
Alternatively, you can set the emulator name via the Test suite node variable definitiondeviceName.You can see the devices available via the menu »Extras«»Known Android devices…«.
If the variabledeviceNameis not set, QF-Test first looks for an Android device already running. If none is running, an available one will be started. Select the node Setup: Start device and connect, keeping it expanded.
-
Click the
 Start test run toolbar button. This executes the currently selected node.
During execution QF-Test marks the active step by use of an arrow pointer ->.
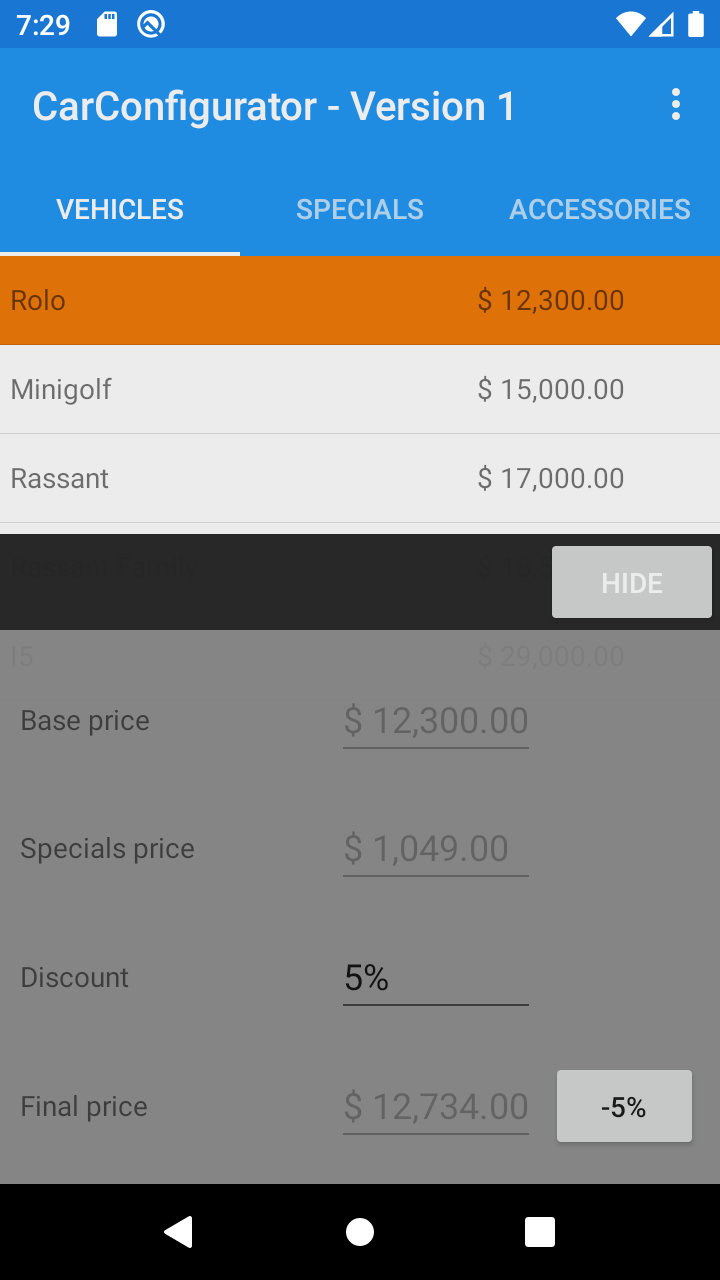
After the setup sequence is completed, the demo app "CarConfigurator" should appear on the Android device.