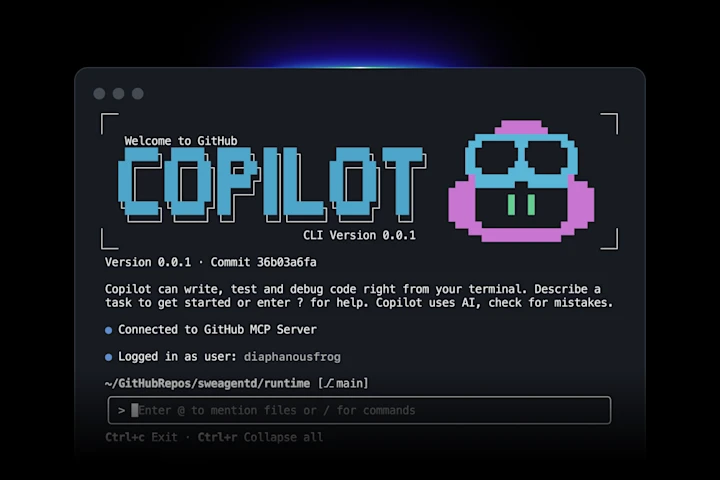
With QF-Test 10, it is possible to integrate third-party AI models such as GitHub Copilot into QF-Test. In the case of Copilot, it is usually necessary to have the Copilot CLI installed on the same system as QF-Test.
However, there are situations where you cannot install the Copilot CLI on your test machines for technical or security reasons, or if you want to run multiple parallel QF-Test instances via Daemon mode.
For such cases, this guest article by long-time QF-Test user Irfan Yigit shows you how to set up Copilot on a single central machine and establish an SSH network connection to your test machines. You can then use your GitHub Copilot AI models with QF-Test via SSH.

Prerequisites
To set this up on a Windows system, OpenSSH is required. OpenSSH must be installed on both the client VM and the target VM.
The client VM additionally needs QF-Test (10.0 or newer) installed. The target VM must have a current GitHub Copilot CLI installation, and the GitHub login (/login) must have been completed within the SSH environment.
To use GitHub Copilot CLI via remote SSH reliably, an SSH key is required, because OpenSSH cannot handle SSH password prompts during automated remote calls (such as those triggered from QF-Test). SSH key authentication is needed solely to establish a passwordless, stable SSH connection.
Step-by-Step Guide
Preparation on the Client VM
1. Create the .ssh directory (if it doesn’t exist, e.g. C:\Users\Administrator\.ssh)
New-Item -ItemType Directory -Path "$env:USERPROFILE\.ssh" -Force | Out-Null
2. Generate an SSH key (ed25519) on the client VM (without a passphrase)
ssh-keygen -t ed25519 -C "qftest-remote" -f "$env:USERPROFILE\.ssh\id_ed25519"
- Simply leave the passphrase empty (press Enter twice).
- The generated public key (
…/.ssh/id_ed25519.pub) will be needed on the target VM later.
Preparation on the Target VM
1. Set Access Control Lists (ACLs) correctly
Windows OpenSSH only accepts keys if the file is in the right location and the permissions are set with the correct ACLs. The file C:\ProgramData\ssh\administrators_authorized_keys is created and secured as follows:
icacls C:\ProgramData\ssh\administrators_authorized_keys /inheritance:r
icacls C:\ProgramData\ssh\administrators_authorized_keys /grant 'Administrators:F'
icacls C:\ProgramData\ssh\administrators_authorized_keys /grant 'SYSTEM:F'
Restart-Service sshd
2. Add the public key
Paste the contents of id_ed25519.pub from the client VM into the administrators_authorized_keys file on the target VM and save it (one key per line).
3. Log in to Copilot CLI in the SSH environment on the target VM (once)
Copilot stores its login credentials locally in the respective user profile. The login must be completed beforehand — either directly on the target VM or via SSH, depending on whether different Windows users are involved.
Once the Copilot login is saved in the SSH environment, Copilot can be fully scripted via remote SSH from QF-Test.
Run the following in PowerShell if all client VMs should interact with the same user and SSH environment:
- SSH directly to the target VM:
ssh -i ~/.ssh/id_ed25519 Administrator@<target-IP> - Start Copilot:
copilot - Start login:
/login - Confirm the device code in the browser.
Functional Test (Client VM → Target VM, headless)
Run the following command on the client VM in PowerShell:
ssh -i ~/.ssh/id_ed25519 Administrator@<target-IP> "copilot -p 'Say hello' --stream on"
Troubleshooting
Test SSH key login from the client VM
Verify that SSH works without a password using the SSH key (prerequisite for QF-Test):
ssh -i $env:USERPROFILE\.ssh\id_ed25519 Administrator@<target-IP> 'echo OK'
- If
OKappears → key authentication is working. - If there is an error: check the SSH keys or ACLs on the target VM.
Connect Copilot CLI to QF-Test via SSH
Once everything works, follow these instructions from step 2:
 Max Melzer
Make the following adjustments to the ai.addCustomModel script (insert the correct user, path and IP for your setup):
ai.addCustomModel("GitHub Copilot", (msg) -> {
    def remoteUser = "Administrator"
    def remoteHost = "192.168.0.2" // IP of target VM
    def remoteCmd = "cmd /c \"C:/Users/Administrator/AppData/Local/GitHubCopilotCLI/copilot.exe --silent --stream off --model claude-sonnet-4.6 --prompt \\\"${msg}\\\"\""
    def cmd = [
        "ssh",
        "-o",
        "StrictHostKeyChecking=no",
        "${remoteUser}@${remoteHost}",
        remoteCmd
    ]

    def proc = cmd.execute()
    proc.outputStream.close()
    proc.waitFor()

    return proc.in.text.replace("● ", "")
})
Learn more about the AI integrations in QF-Test 10: