It is well known that, for many people, a picture is worth a thousand words. Accordingly, screenshots are an important part of QF-Test.
In my last blog article « Creating Screenshots with QF-Test » I went into how exactly to create screenshots manually.
Today I would like to demonstrate how to edit such images with QF-Test, for example to insert simple geometric figures. This can be very useful to highlight certain regions in the image – for example a click position or a certain component.
Let’s start by getting an image of a window component in a Jython SUT script:
from imagewrapper import ImageWrapper

iw = ImageWrapper(rc)

com = rc.getComponent("#Window:")
img = iw.grabImage(com)
Next, we get the necessary data for image processing, namely the width of the image and the ARGB array to be processed:
width = img.getWidth()
argb = img.getARGB()
The ARGB array contains the color values of all pixels of the image, line by line, starting from the upper left corner.
For example, to address the fourth pixel in the third row of the image, the value with index 4 + 3 * width must be addressed in the array.
The color value first specifies the alpha value, then the red value, the green value and finally the blue value of the pixel, where each value can be anything between 0 and 255.
So now we can modify the array to add a 15 × 15 pixel red cross at any position. The following code can be used to do this. For this example, it is important to maintain at least a 15 pixel gap from the edge of the image, otherwise the cross will appear messed-up.
# Get coordinates from QF-Test variables
x = rc.getInt("x")
y = rc.getInt("y")

for i in range(-15, 15+1):
    pos = x + y * width + i + i * width
    argb[pos] = 0xFFF0000
    pos = x + y * width + i - i * width
    argb[pos] = 0xFFF0000
Finally, we need to pass this array back to the image object and then save the image object in the run log, for example, to make it available to another user:
img.setARGB(argb)
rc.logImage(img)
Once everything is said and done, we get the following complete script:
from imagewrapper import ImageWrapper

iw = ImageWrapper(rc)

com = rc.getComponent("#Window:")
img = iw.grabImage(com)

width = img.getWidth()
argb = img.getARGB()

# Get coordinates from QF-Test variables
x = rc.getInt("x")
y = rc.getInt("y")

for i in range(-5, 5+1):
    pos = x + y * width + i + i * width
    argb[pos] = 0xFFF0000
    pos = x + y * width + i - i * width
    argb[pos] = 0xFFF0000

img.setARGB(argb)
rc.logImage(img)
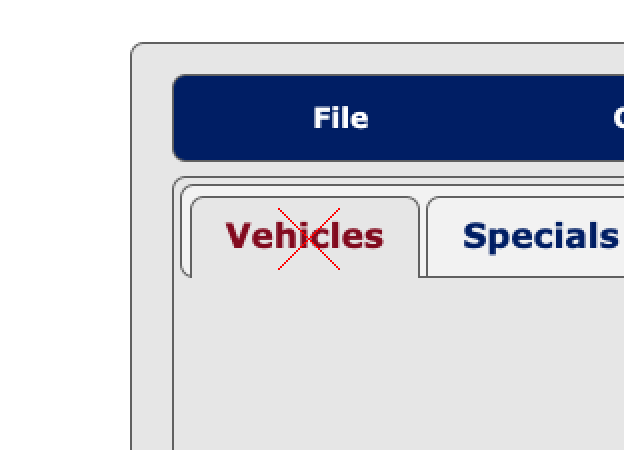
« X » marks the spot.
In the same way you can also draw circles, rectangles or any number of similar geometric figures on the drawing surface using the corresponding mathematical functions.